
If you have spare boring t-shirts, be unique and customise them! I have made this crop top overlay from spare fabric and trim. It was relatively easy and quick to do and it makes your boring old t-shirts much prettier and different.
What you will need:
- Grey t-shirt
- 1m slightly stretchy, but stiff fabric
- Bias binding
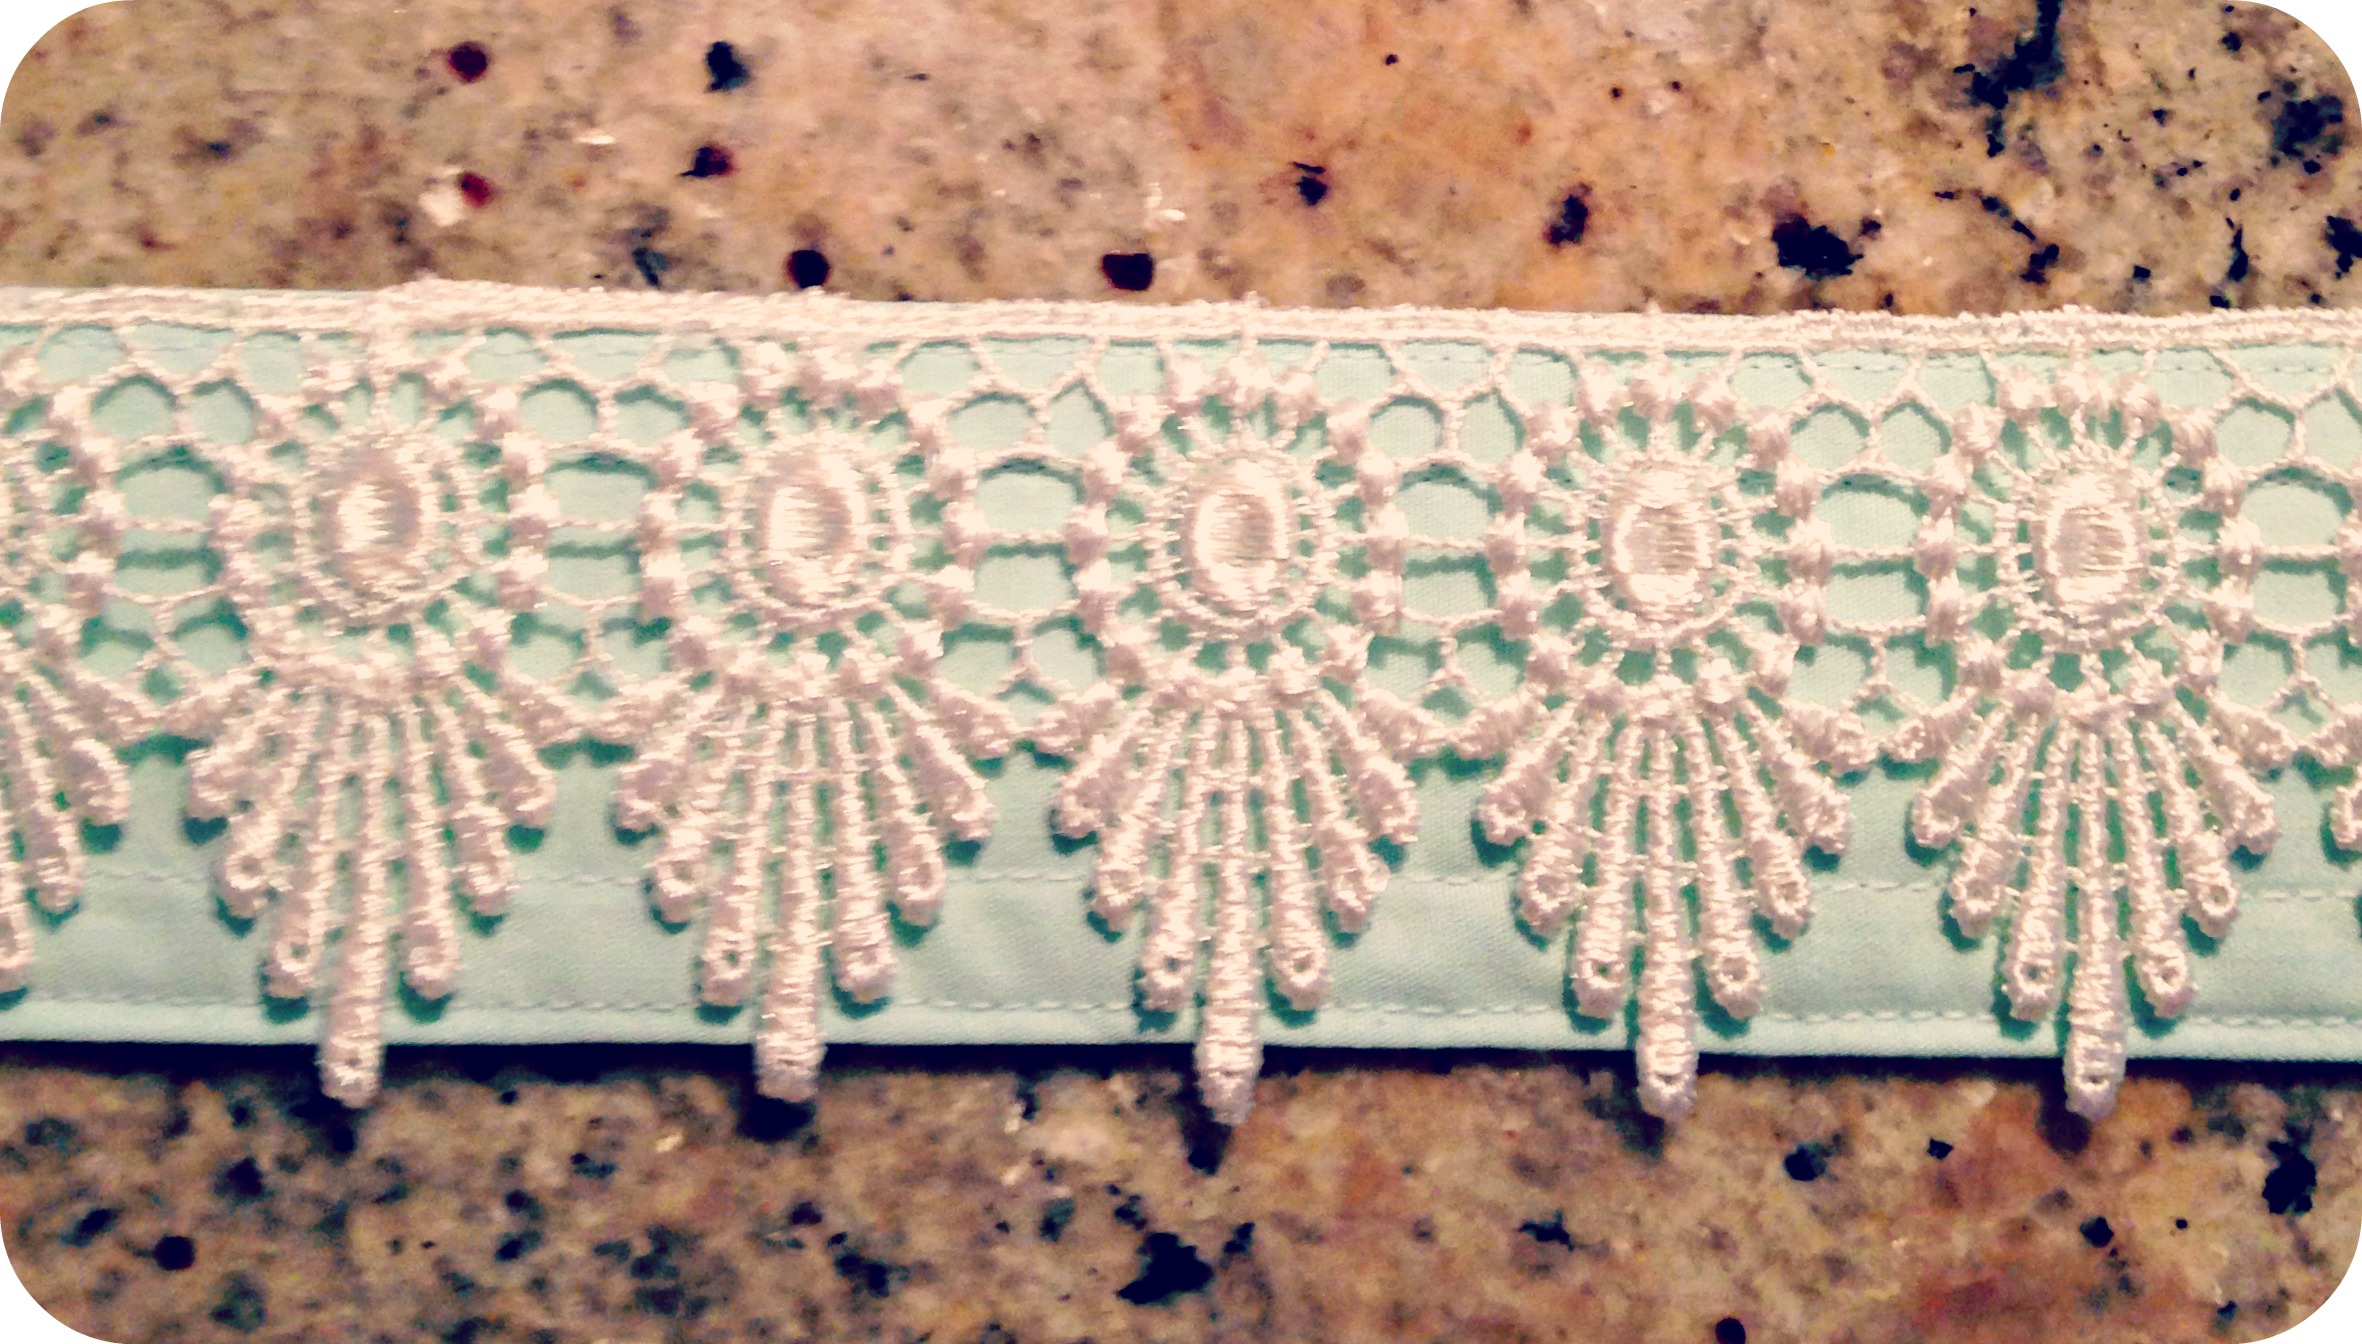
- Trim
- Matching threads
To start, cut off the sleeves of the grey t-shirt, really close to the seam. Cut the sleeve’s side seam to open it up. These are now your pattern pieces for your sleeves.

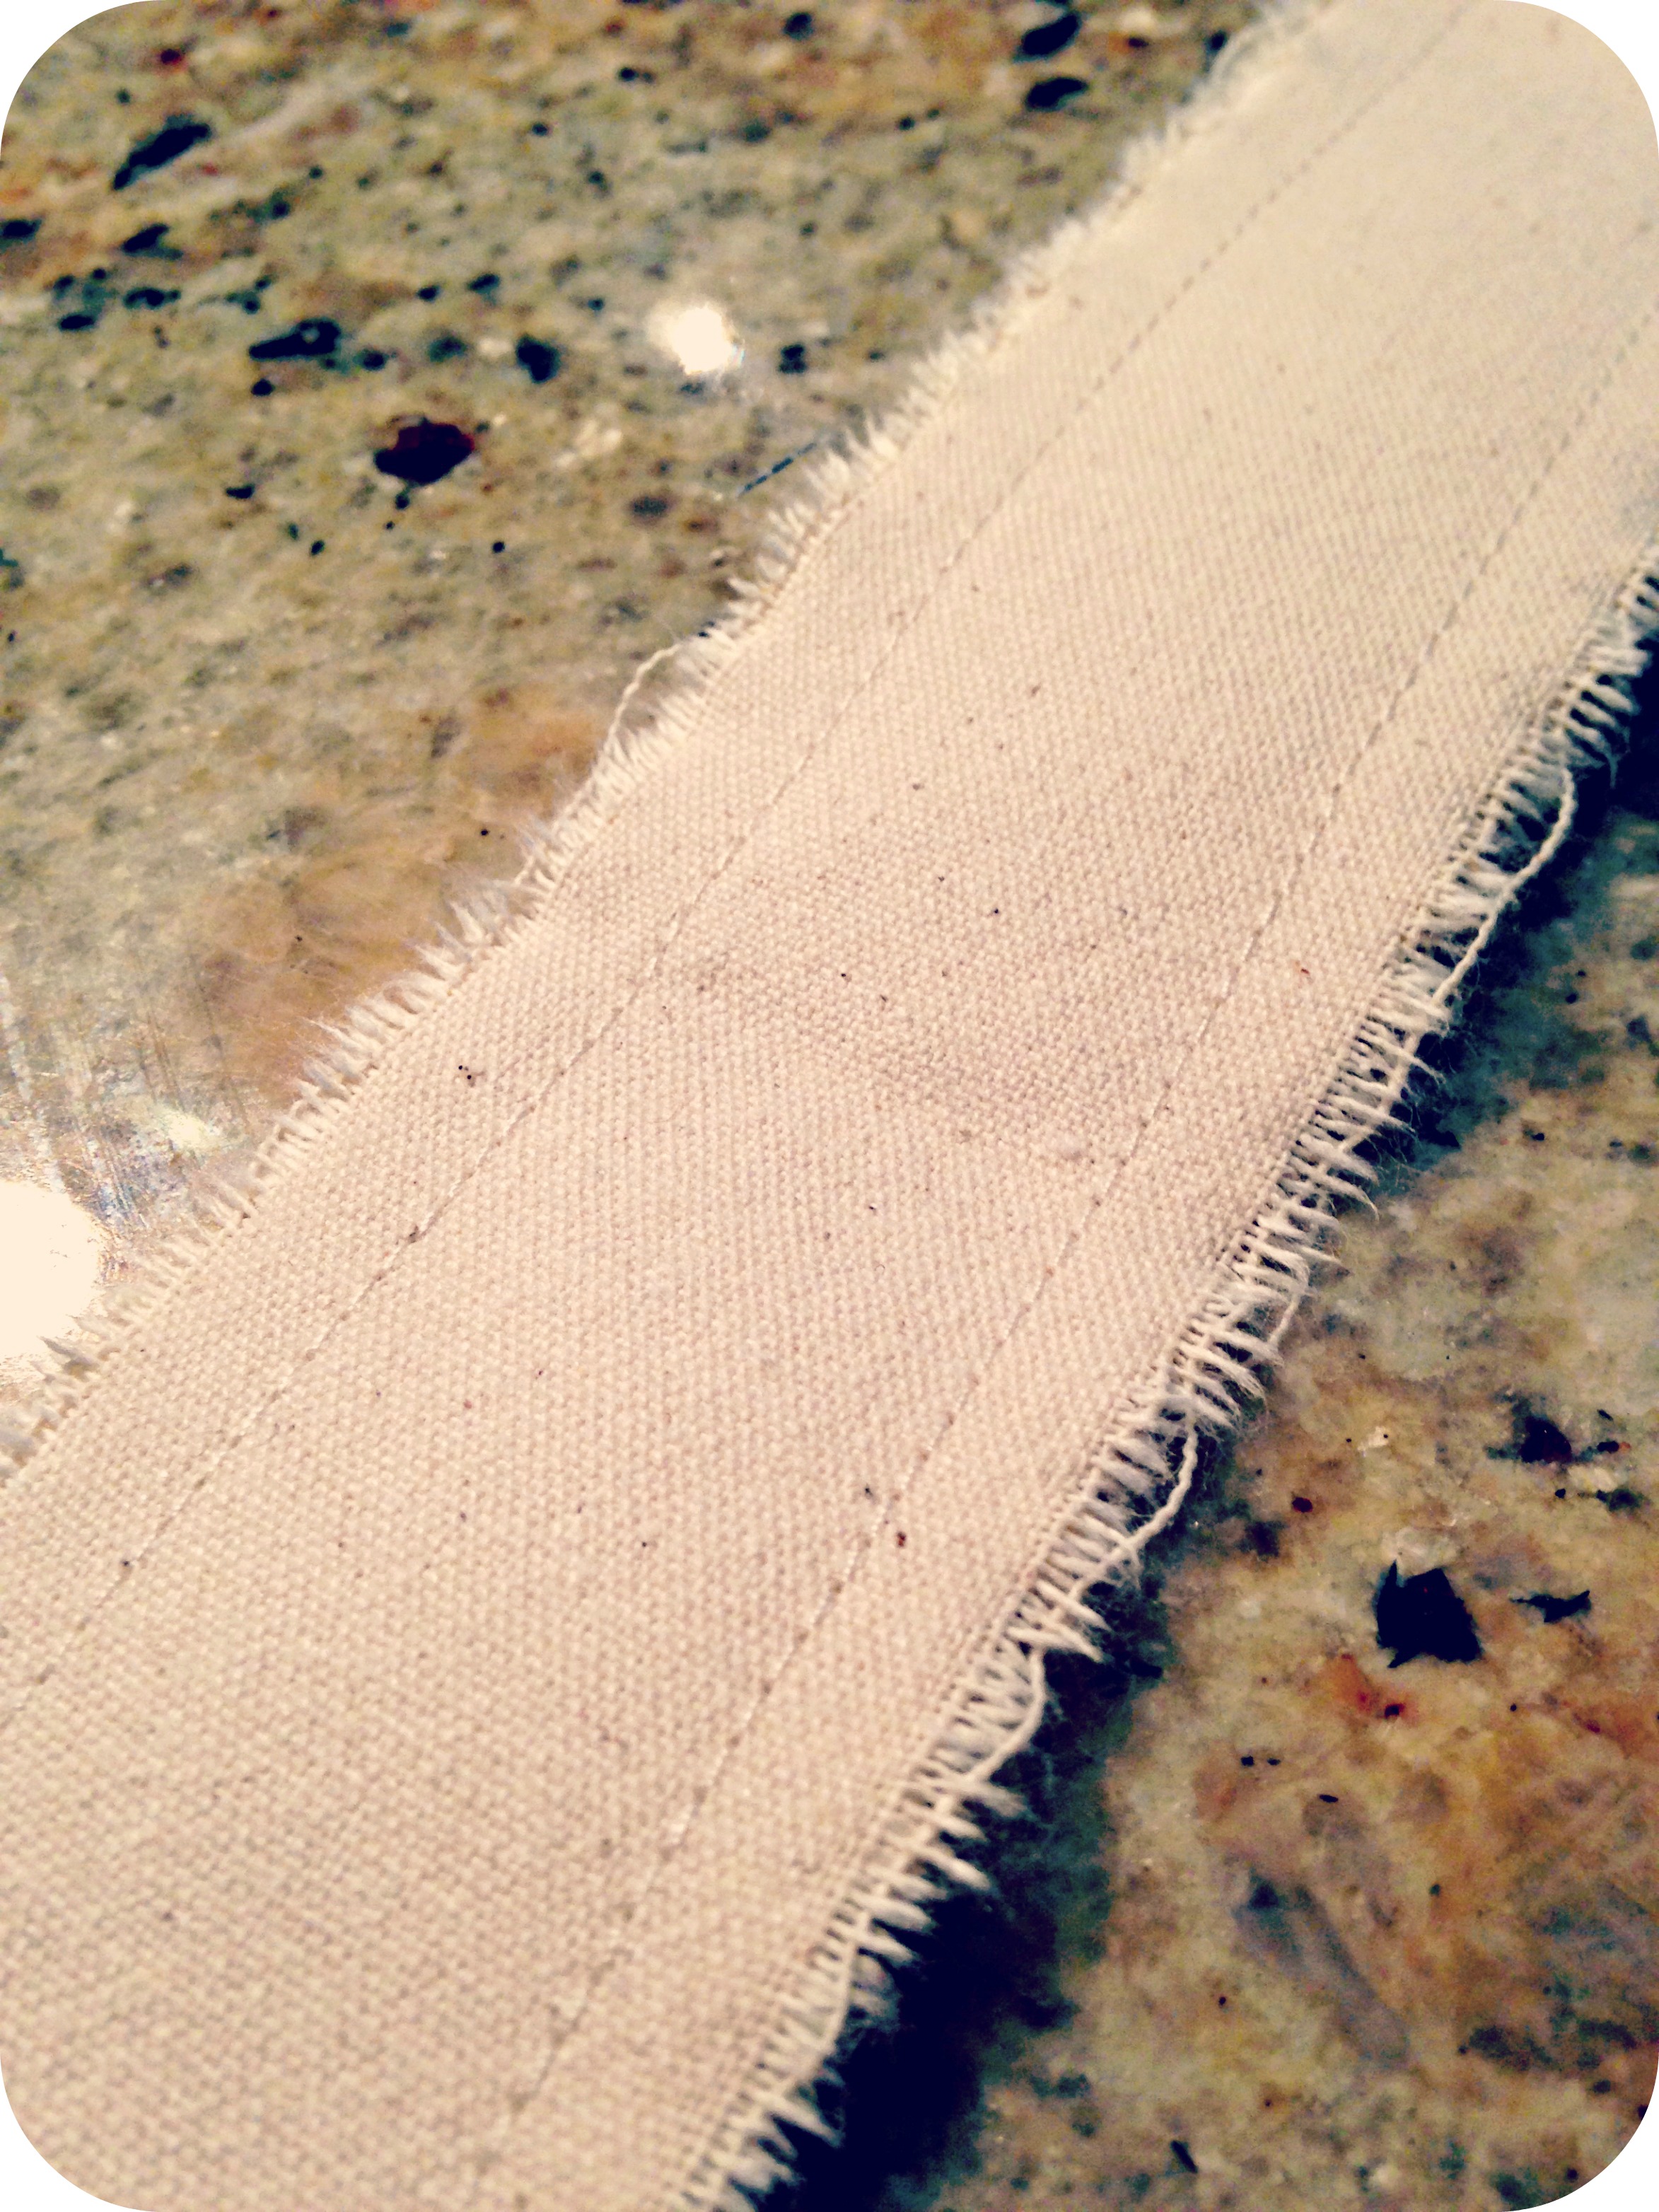
Fold your 1m of fabric in half, and place the t-shirt on to the fabric, half way up as this is how long you want the crop top overlay to be. Cut around the t-shirt, about 2inches wider all the way round. This gives you two identical shapes. Take one of these pieces and cut the top to the same shape as the round neck of the t-shirt. This will be your front piece. You then cut the other piece to match the neck of the back of the t-shirt. Using the sleeves of the grey t-shirt that you just cut out, lay one on the folded fabric and cut around it, also cutting 2inches bigger all the way round. Discard the grey sleeves as you now have two sleeve shapes in the overlay’s fabric.


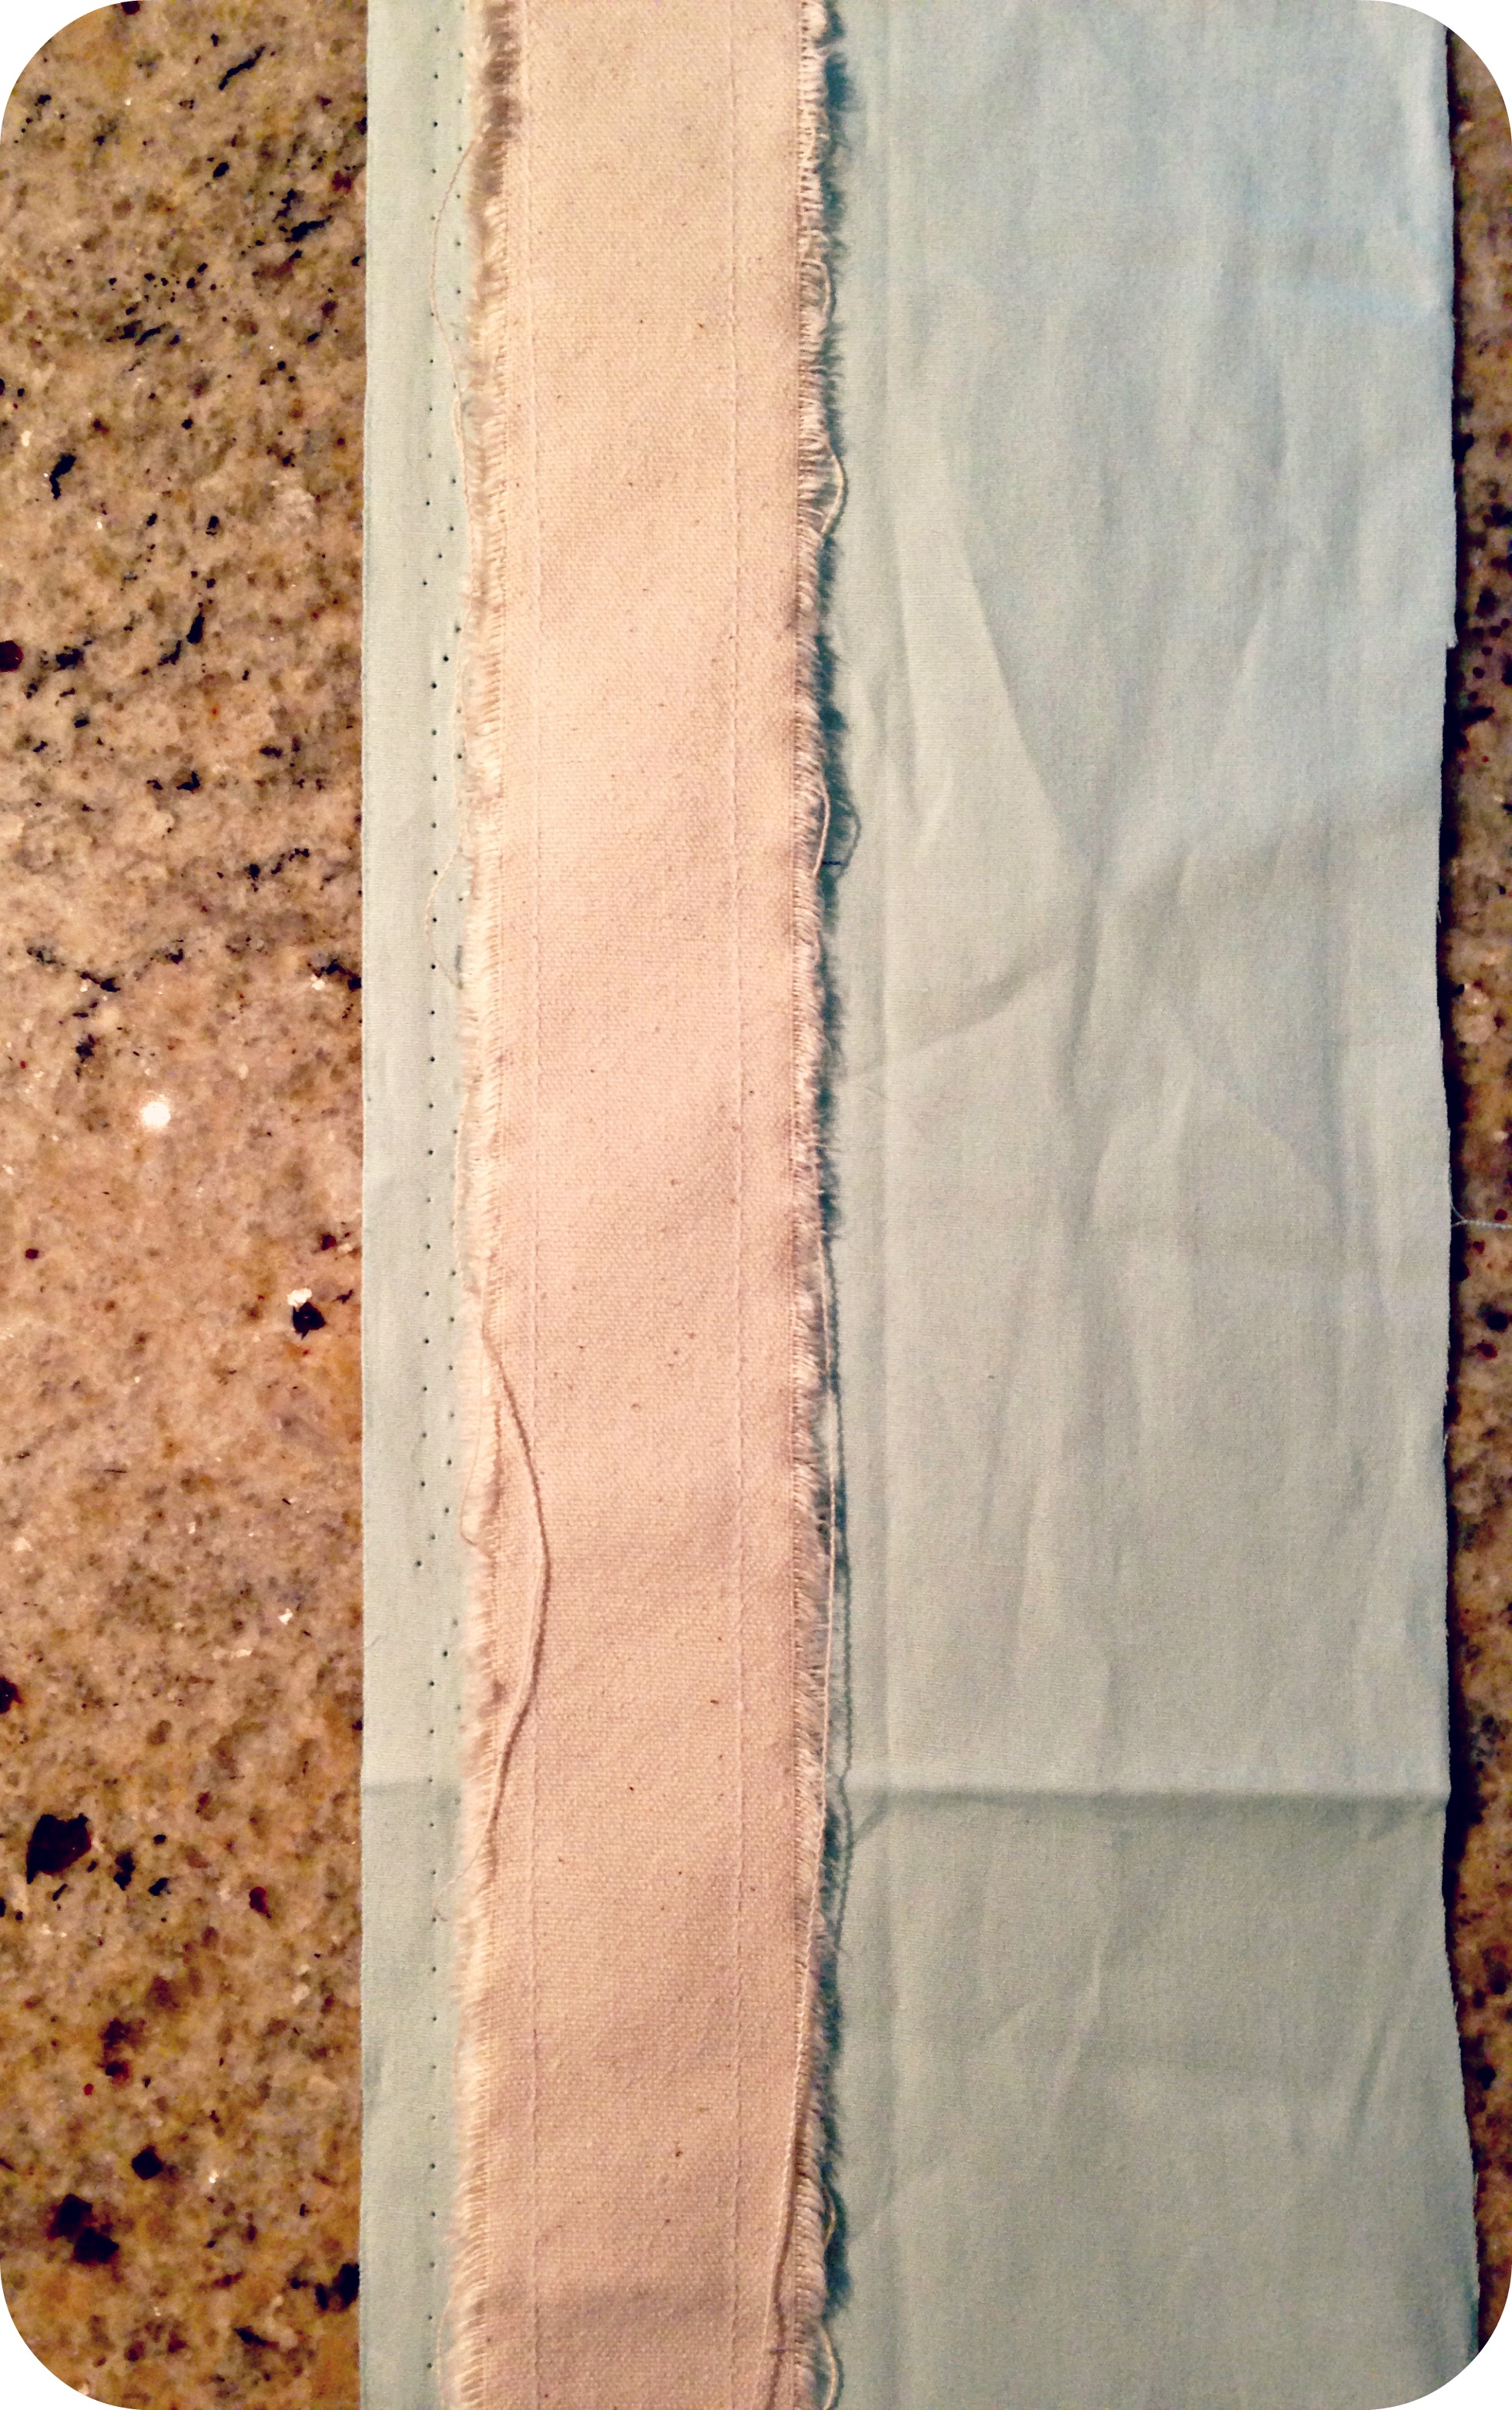
Do a straight stitch on both shoulders, with the right sides together. Then, using a longer stitch, match up the arm holes of the grey t-shirt and the fabric and sew them together. On the front, put two darts just below the bust. This will make it sit nicely on you body. Fold over the hem of the overlay and sew it down to finish it. Fold over the raw edges of the sides of the fabric and sew them directly to the side seams of the grey t-shirt. The crop top is now fully attached to the grey t-shirt.


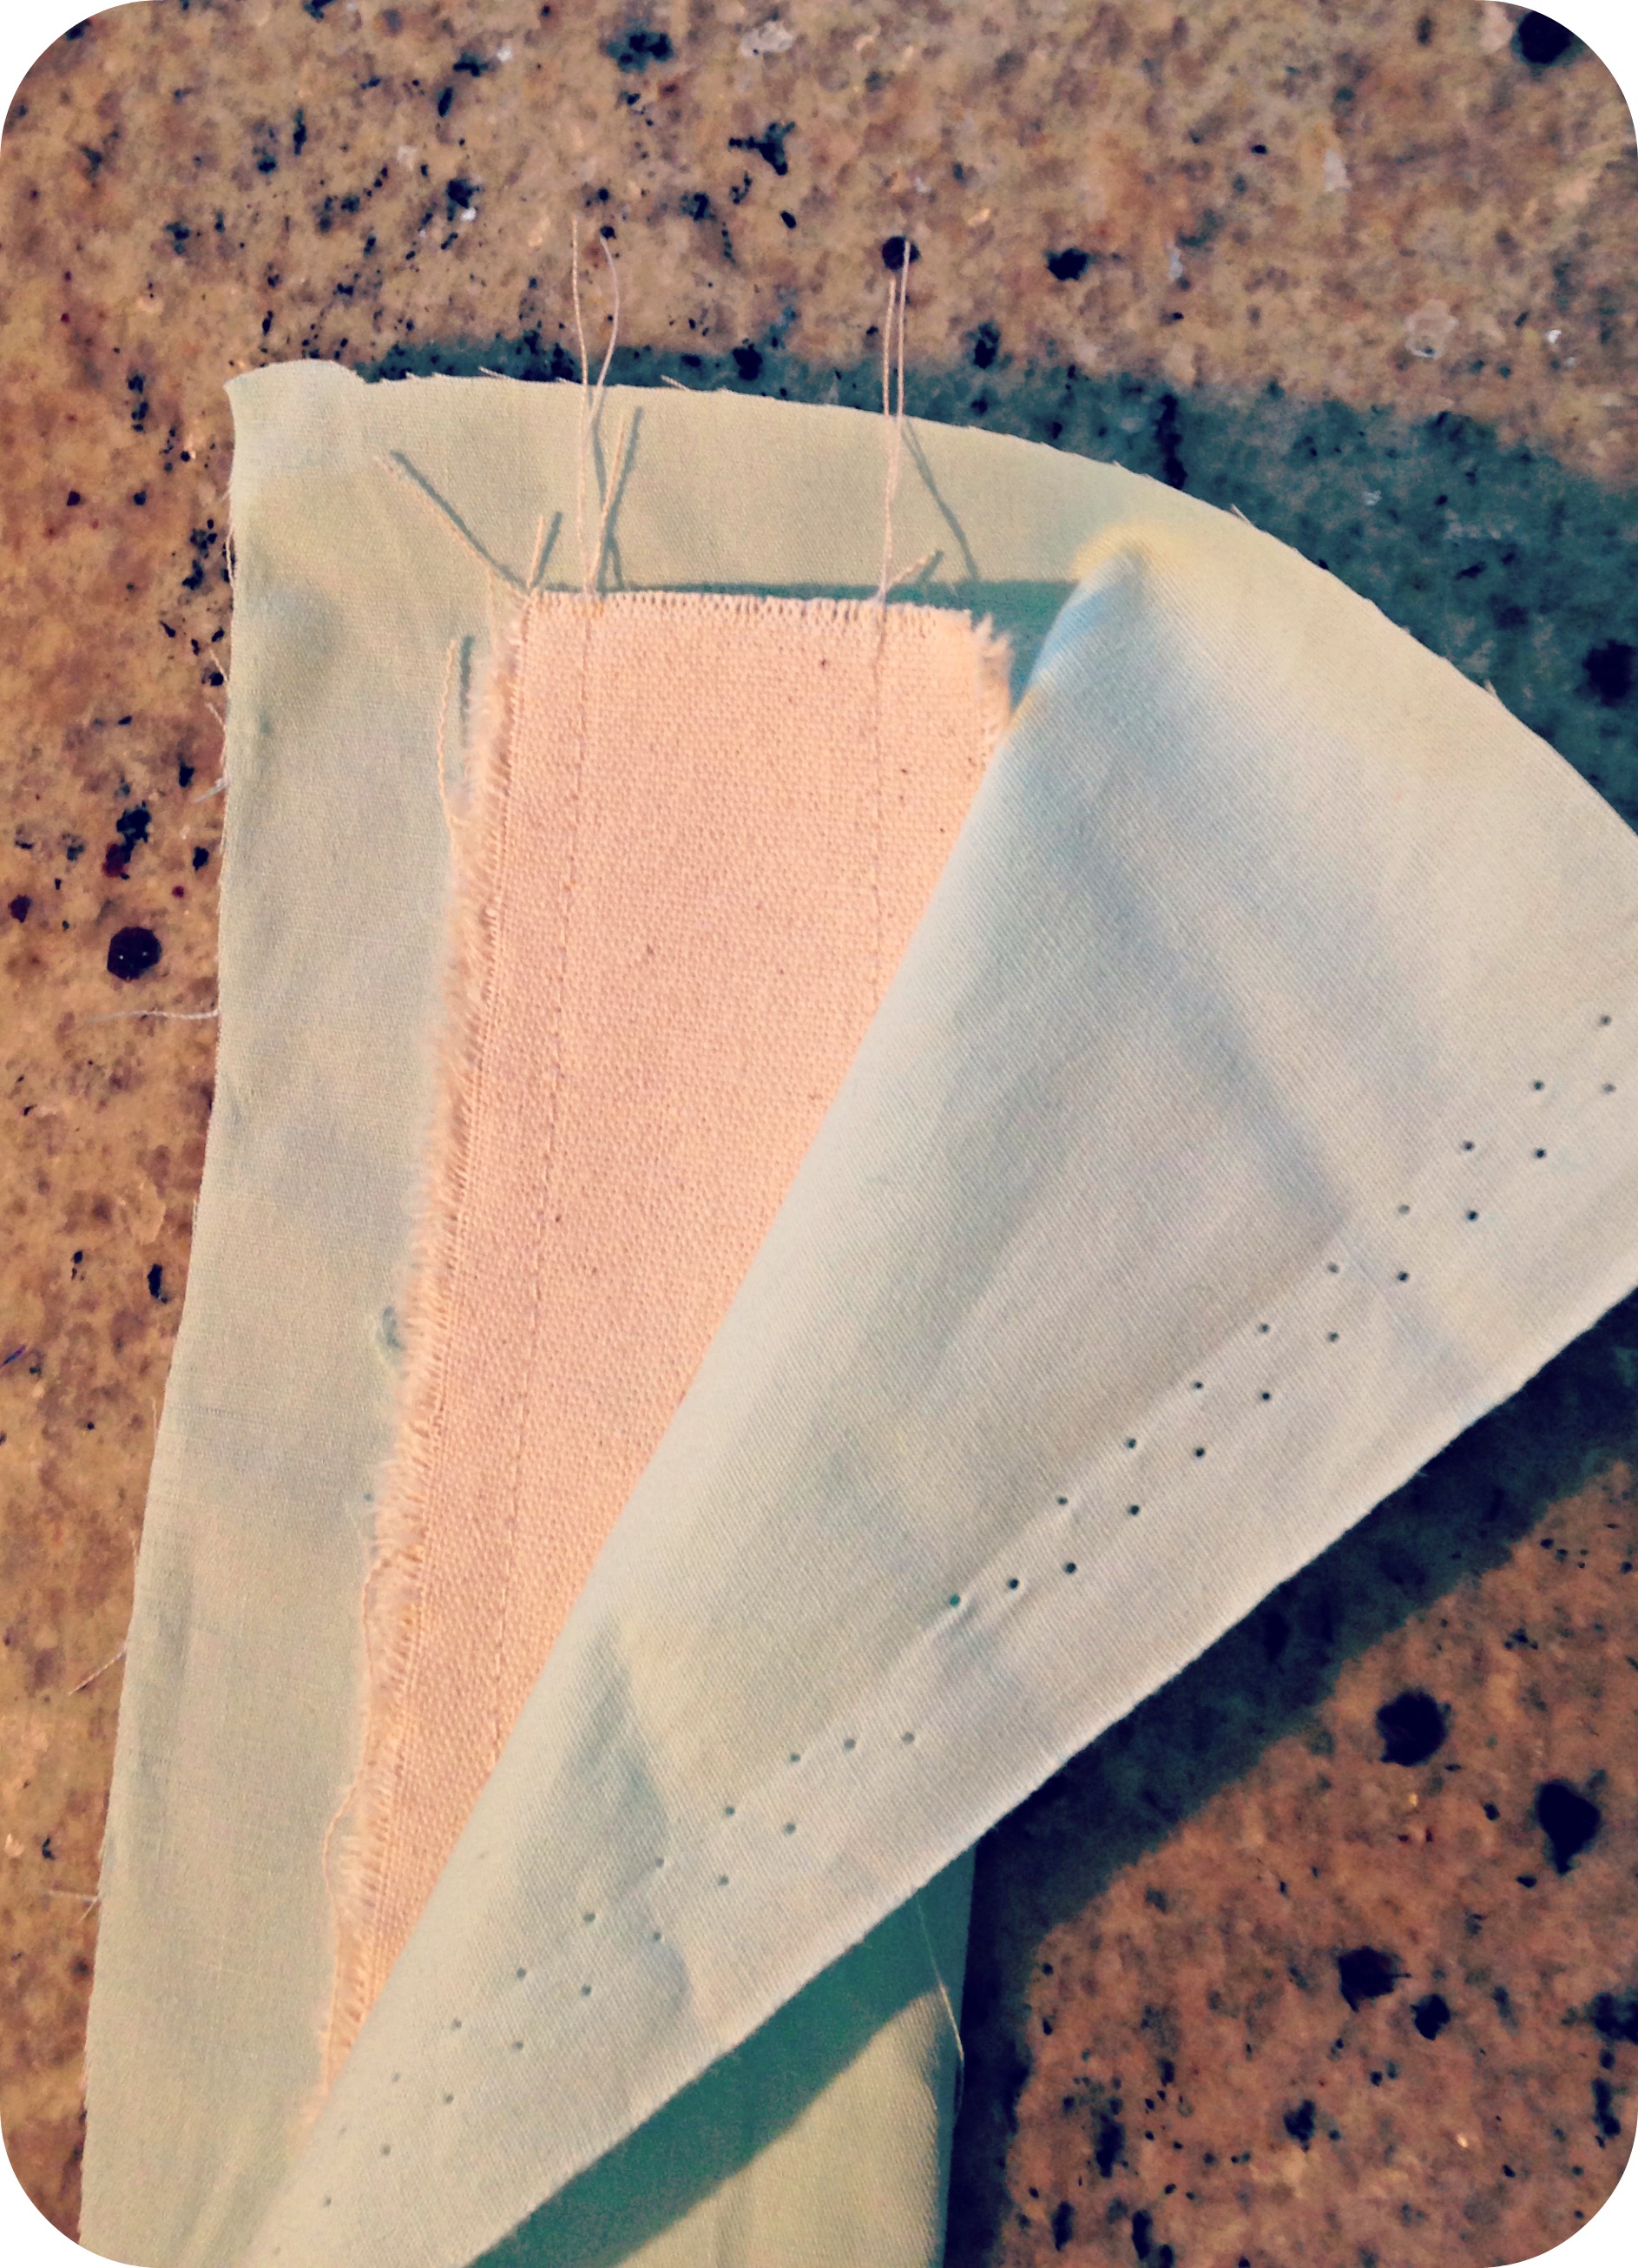
When inserting the sleeves, first sew the side seam on the sleeve then turn it the right way out. Turn the whole t-shirt inside out and insert the sleeve inside the t-shirt so that both side seams line up. Sew the two pieces together.


For the neckline, cut notches around the overlay’s neck. Fold these notches over and sew the crop top’s neckline down just inline with the seam of the t-shirt’s neckline, exposing the grey t-shirt neck.

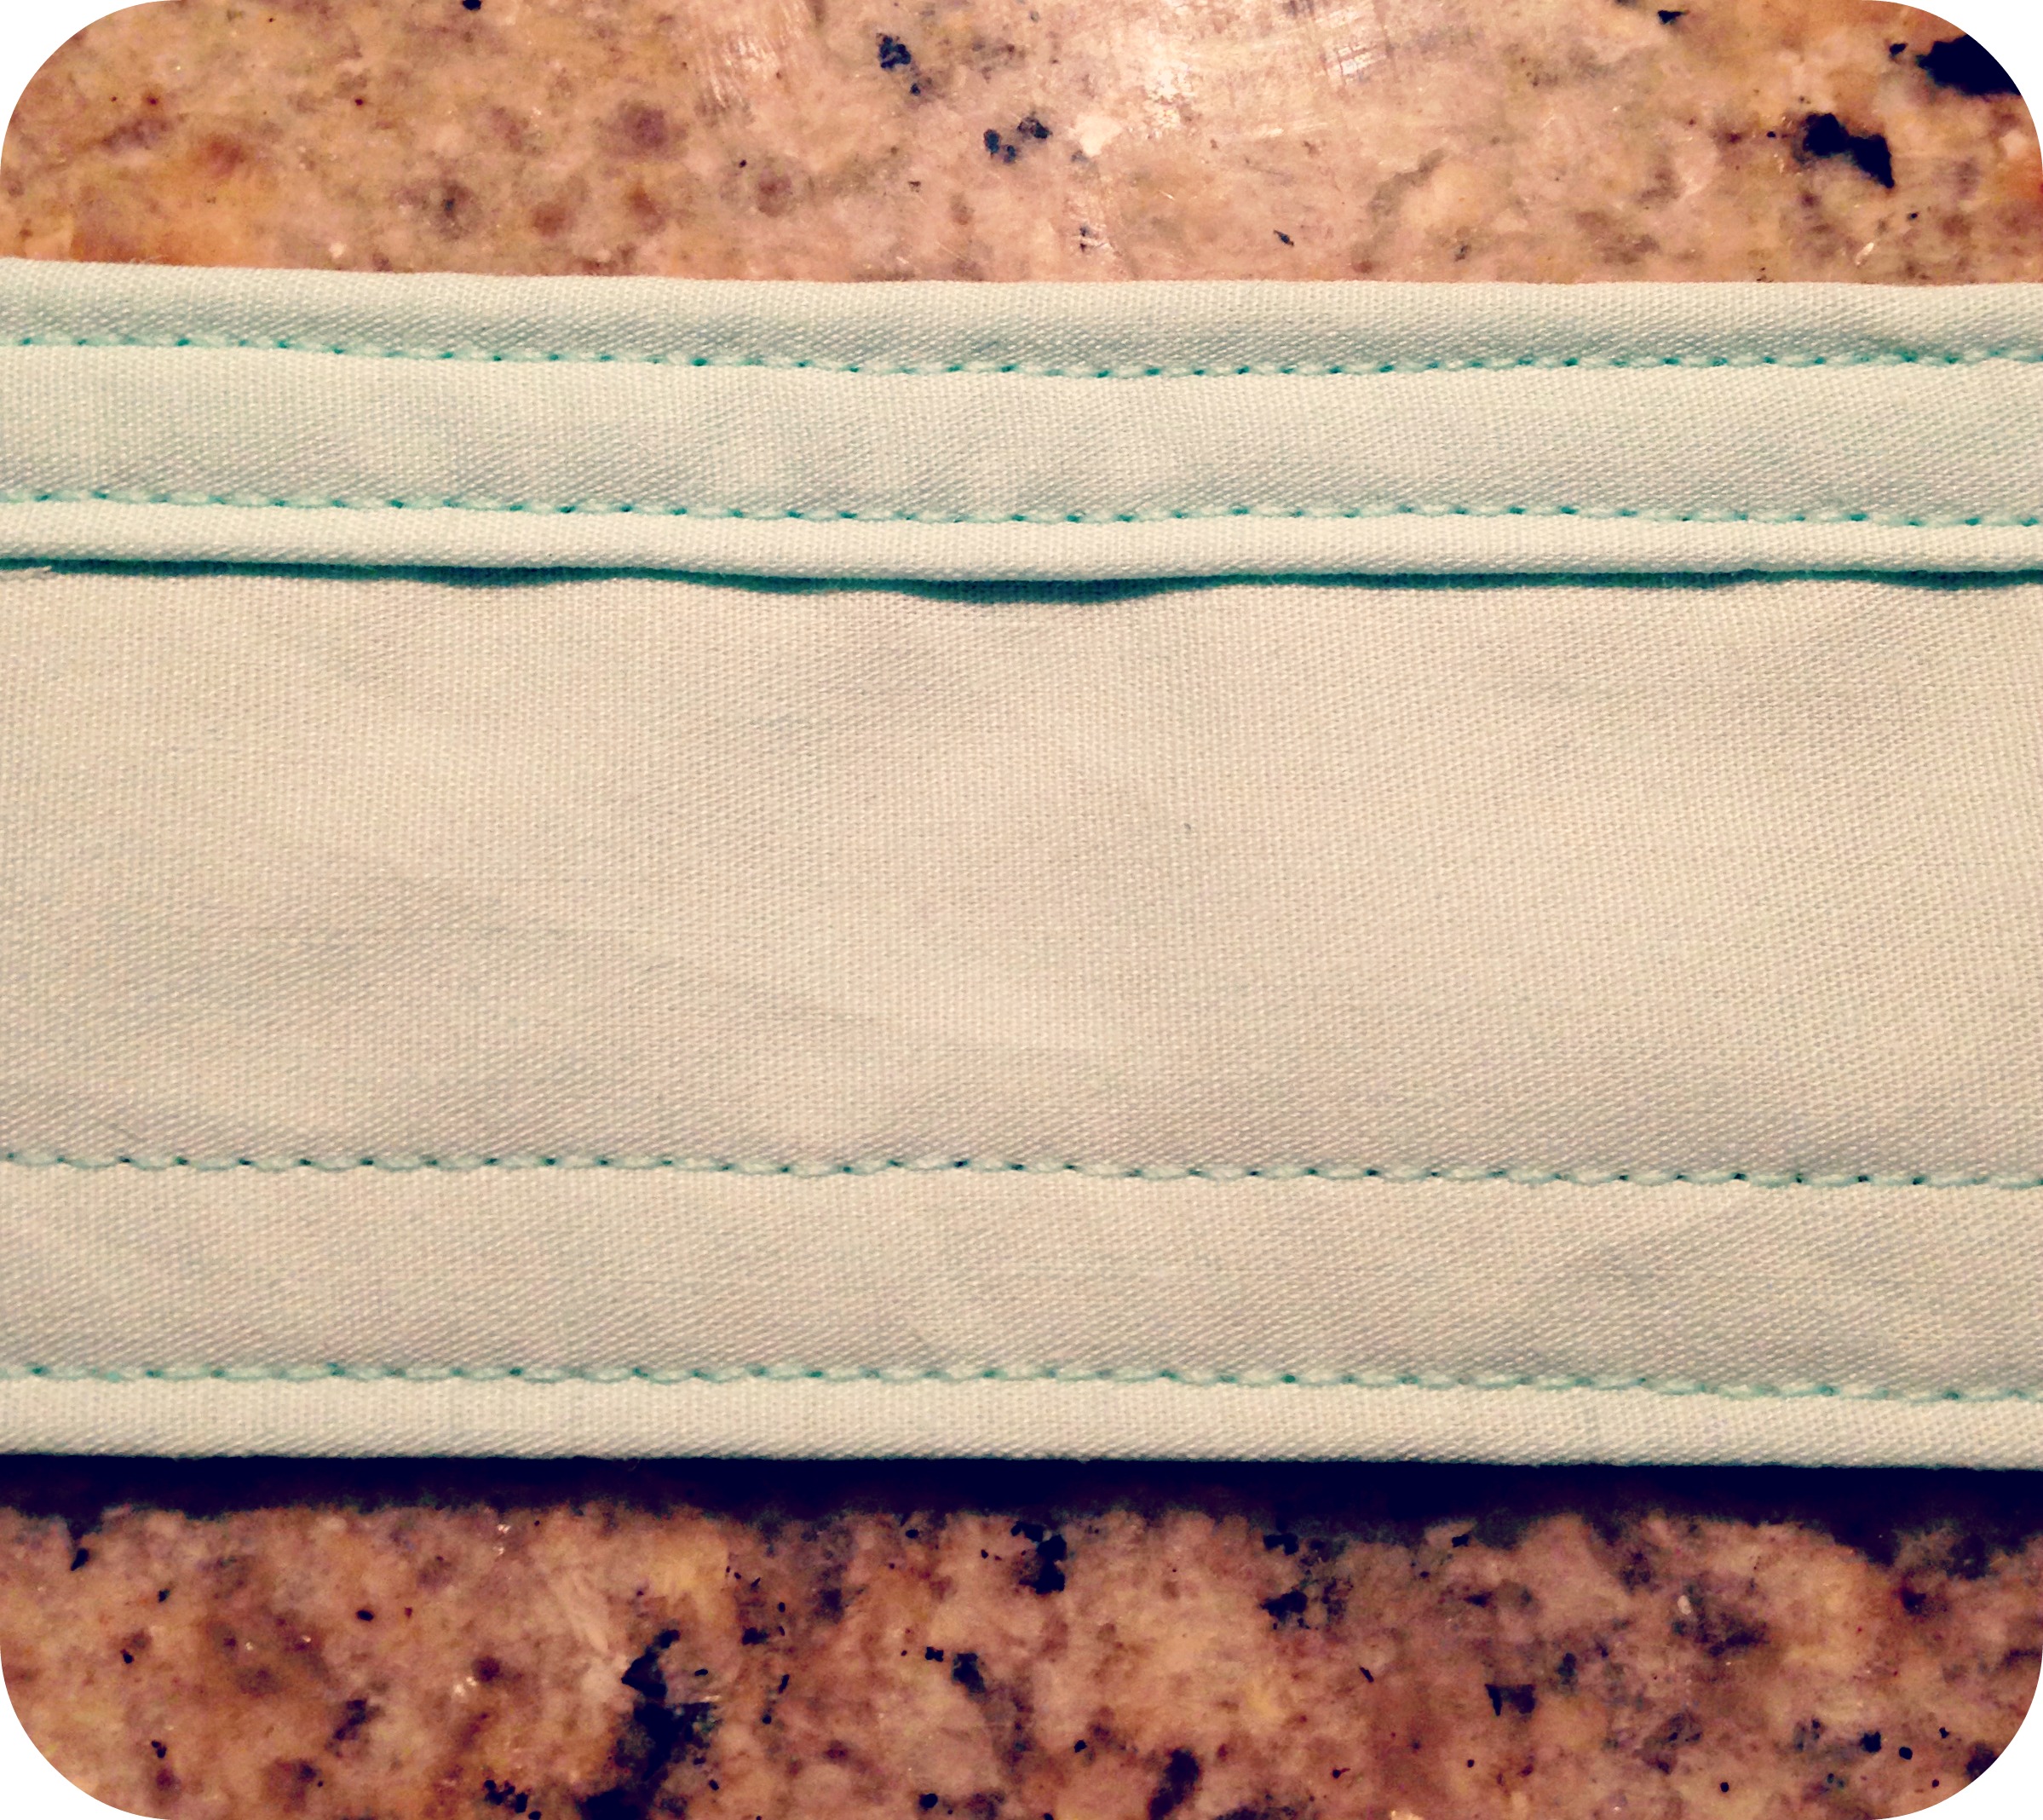
Line up the edge of the trim to the edge of the crop top and sew it down. As you have attached the sides of the overlay to the t-shirt, you will have to sew the trim on in two pieces. To finish the t-shirt, use bias binding on the sleeves for neat edges.

Because the fabric is slightly stretchy, you do not need any sort of zip, or fastener; it should just stretch with your t-shirt to allow you to put it on.
Thank you for reading!